
Stainless Steel Jewelry Layering & Stacking Guide: Style Tips That Sell More Pieces
Stainless Steel Jewelry Layering & Stacking Guide
Style Tips That Sell More Pieces
Layering Is the #1 Way to Increase Average Order Value
Here's a fact that every jewelry seller should know: customers who buy layered looks spend 2-3x more than customers who buy a single piece. A necklace that sells for $20 becomes a $60 order when the customer buys three to layer. A $15 bracelet becomes a $45 order when they stack four.
The problem is that most customers don't know how to layer jewelry. They buy one necklace, wear it alone, and never come back. But if you teach them how to layer — and sell them curated sets — you turn a one-time $20 buyer into a repeat customer who spends $100+ per order.
This guide covers the layering and stacking techniques that actually work, how to curate sets that sell, and how to use layering content to increase your average order value. These are the same techniques we've seen double and triple sales for our wholesale customers.
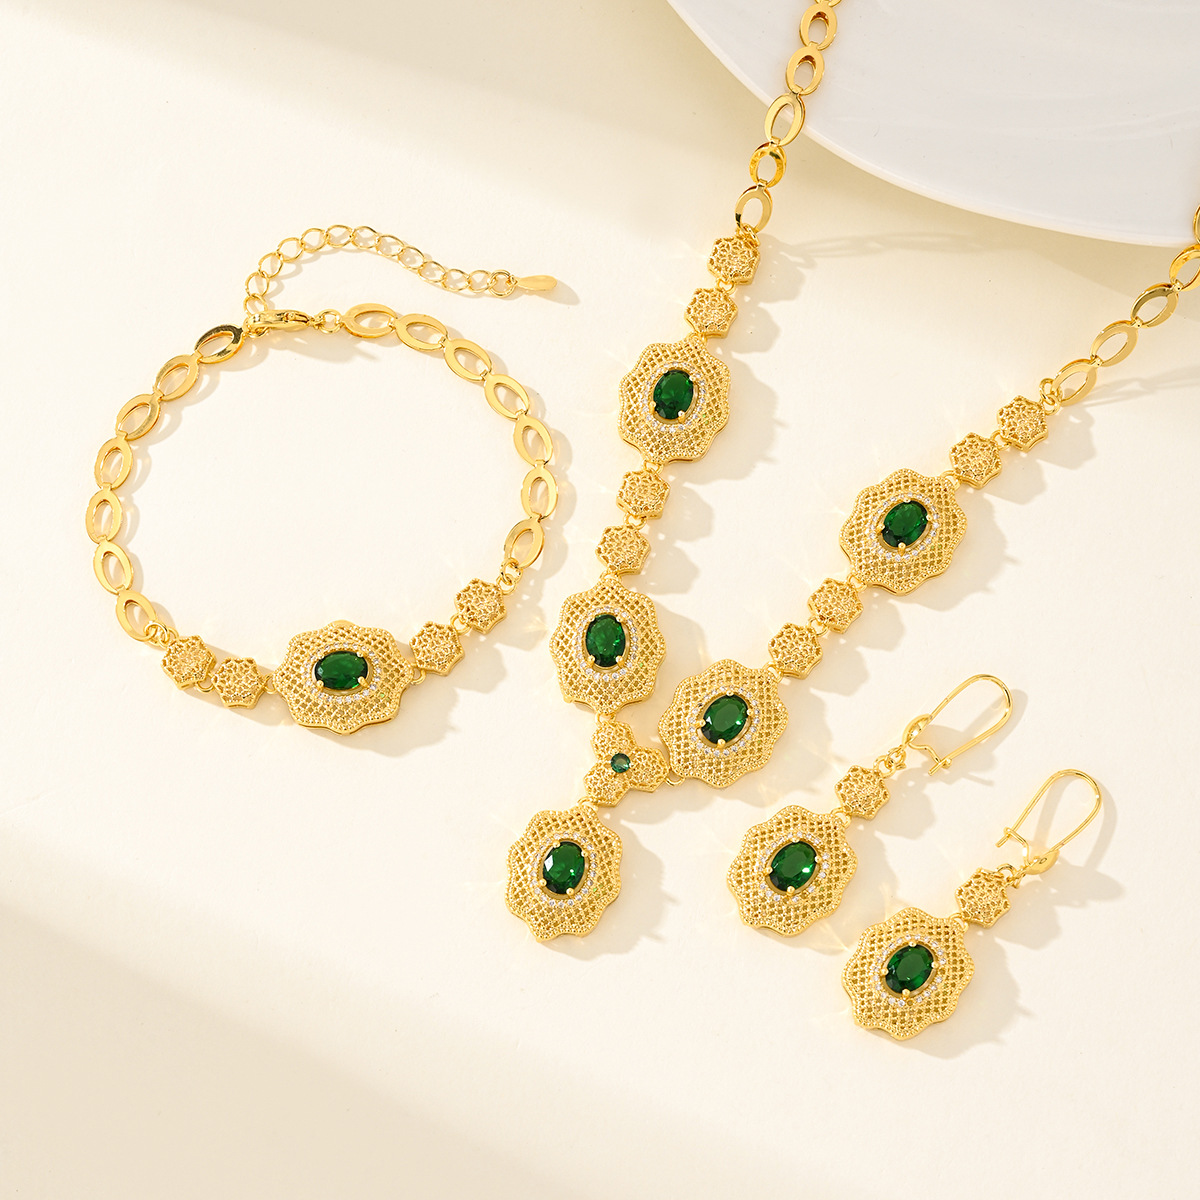
Necklace Layering: The Fundamentals
Necklace layering is the most popular and most profitable form of jewelry layering. The key is variation in length, texture, and pendant size. Here's how it works.
The three-length rule. A classic layered necklace look uses three necklaces at different lengths: a choker (14-16 inches), a medium necklace (18-20 inches), and a long necklace (24-30 inches). The different lengths ensure each piece is visible and they don't tangle. This is the formula that works for 90% of customers.
Vary the chain styles. Don't layer three identical cable chains. Mix a dainty cable chain with a figaro chain and a snake chain, or a box chain with a rope chain and a curb chain. Different textures add visual interest and make the look more intentional.
One statement pendant, rest simple. The most common mistake is layering three big pendants — it looks cluttered and busy. Instead, use one statement pendant (a larger CZ, a pearl, or a geometric shape) as the focal point, and keep the other two chains simple or with tiny pendants. The eye goes to the statement piece, and the other chains add depth.
Mix metals carefully. Mixing gold and silver is on-trend, but it takes skill. The easiest approach: keep the majority one metal (say, 2 gold chains) and add one silver or rose gold accent. All-matching is always safe and elegant; mixed metals is for fashion-forward customers.
| Layer | Length | Style | Pendant Size | Wholesale Cost |
|---|---|---|---|---|
| Choker | 14-16" | Thin cable or snake chain | Tiny (5-8mm) or no pendant | $1.50 - $3.00 |
| Medium | 18-20" | Figaro or box chain | Medium (10-15mm) — the statement | $2.50 - $5.00 |
| Long | 24-30" | Rope or curb chain | Small (8-12mm) or no pendant | $3.00 - $6.00 |
| Set total | 3 pieces | Mixed textures | One focal point | $7.00 - $14.00 |
| Retail set price | $45 - $75 |
Bracelet Stacking: Building the Perfect Stack
Bracelet stacking is second only to necklace layering in popularity — and it's even easier for customers to pull off. Here's how to build stacks that sell.
The odd number rule. Stacks look best with 3, 5, or 7 bracelets. Even numbers (2, 4, 6) can look unbalanced. Start with 3 for beginners, 5 for a bolder look.
Mix widths and styles. A classic stack: one thin chain bracelet, one bangle, one beaded or charm bracelet. The different widths and styles create visual rhythm. Avoid stacking three identical bangles — it looks like a uniform, not a curated stack.
Anchor with a statement piece. Every stack needs one piece that stands out — a CZ tennis bracelet, a thick curb chain, or a charm bracelet. The other pieces should be simpler and complement the anchor. This is the same principle as necklace layering: one focal point, rest supportive.
Consider the wrist size. Customers with smaller wrists (6-6.5 inches) should stick to 3 thinner bracelets. Customers with larger wrists (7+ inches) can carry 5-7 bracelets including wider styles. Offer bracelet extenders ($0.30 wholesale) for customers who need a larger fit.
- Everyday stack (3 pieces): Thin chain + bangle + small beaded. Retail $35-$50. Best seller.
- Weekend stack (5 pieces): Chain + bangle + beaded + charm + thin cuff. Retail $55-$75. Higher AOV.
- Statement stack (5-7 pieces): CZ tennis + thick curb + bangles + charms. Retail $80-$120. Premium look.
- Minimalist stack (3 pieces): Three thin chains in different metals. Retail $30-$45. For minimalist customers.
- Bohemian stack (5-7 pieces): Beaded + natural stone + chain + charm + bangle. Retail $60-$90. Festival and summer favorite.
Ring Stacking: The Trend That Keeps Growing
Ring stacking has exploded in popularity over the last few years, driven by celebrities and influencers wearing multiple rings on multiple fingers. Here's what sells.
Midi rings and knuckle rings. These smaller rings worn above the knuckle are the foundation of ring stacking. They're cheap to buy ($0.50-$1.50 wholesale) and customers buy them in multiples — 3-5 at a time. Midi rings are a great entry-level product that gets customers started with ring stacking.
Stackable bands. Thin, plain bands (2-3mm wide) designed to be stacked together. Customers buy 2-4 in different finishes (steel, gold, rose gold, black) and wear them on the same finger. Stackable bands are consistent sellers and have high repeat purchase rates.
One statement ring + supporting bands. The classic ring stack: one larger statement ring (a CZ solitaire, a signet ring, or a geometric design) paired with 2-3 thin bands on the same finger. The statement ring is the hero, the bands add texture and sparkle.
Multi-finger styling. Advanced ring stackers wear rings on multiple fingers — typically the index, middle, and ring fingers. The key is to leave at least one finger bare to avoid looking overdone. A common look: statement ring on index, 2-3 bands on middle, one midi on ring finger.
Earring Stacks and Curated Ear
The "curated ear" trend — multiple earrings in multiple piercings — is one of the fastest-growing jewelry trends. If you sell earrings, you need to be selling earring stacks.
The curated ear formula. A typical curated ear has: studs in the first and second lobe piercings, a hoop in the third lobe, a cartilage stud or hoop in the helix, and maybe a tragus or conch stud. That's 4-5 earrings per ear — and customers buy them all at once if you curate them as a set.
Starter sets for first piercings. Many customers getting their second or third piercing don't know what to buy. A "curated ear starter set" with 3-4 coordinating earrings (2 studs + 1 hoop + 1 cartilage stud) solves this problem perfectly. Wholesale cost: $3-$6, retail: $25-$40.
Huggie hoops are essential. Small huggie hoops (8-12mm) are the most versatile earring for stacking. They work in lobe piercings, cartilage, and even as nose rings. Stock multiple finishes (steel, gold, rose gold, black) because customers mix and match.
Ear cuffs for non-pierced customers. Ear cuffs let customers get the curated ear look without piercings. They clip onto the cartilage and pair perfectly with lobe studs. Ear cuffs are a great add-on sale — "Add an ear cuff for the curated ear look, no piercing needed."
| Earring Type | Placement | Wholesale | Retail | Stack Role |
|---|---|---|---|---|
| Tiny studs (3-5mm) | First/second lobe | $0.50 - $1.50 | $8 - $15 | Base layer |
| Huggie hoops (8-12mm) | Lobe/cartilage | $1.00 - $2.50 | $12 - $22 | Mid layer |
| Drop earrings | First lobe | $1.50 - $4.00 | $15 - $30 | Statement |
| Cartilage studs | Helix/tragus | $0.80 - $2.00 | $10 - $18 | Accent |
| Ear cuffs | Cartilage (no piercing) | $1.00 - $3.00 | $12 - $25 | Add-on |
| Curated ear set (4pc) | Full ear | $3.00 - $7.00 | $25 - $45 | Complete look |
How to Sell Layered Looks in Your Store
Knowing how to layer is one thing — selling layered looks is another. Here's how to turn layering knowledge into sales.
Create pre-curated sets. This is the single most effective strategy. Put together 3-5 necklace layering sets, 3-5 bracelet stacks, and 2-3 earring stacks. Photograph them on a model, package them together, and sell them as a set with a small discount. Customers buy sets because they don't have to figure out what goes together.
Show them on a model. A flat lay of three necklaces doesn't sell. A photo of those three necklaces on a neck — that sells. Invest in a necklace bust ($10) or ask a friend to model. The difference in conversion rate is dramatic.
Create layering content. Post reels and TikTok videos showing how to layer. "3 ways to layer our dainty necklaces," "Build the perfect bracelet stack," "Curated ear for beginners." This content gets saved and shared, and it drives customers to buy the full set, not just one piece.
Offer "complete the look" suggestions. When a customer adds a necklace to cart, suggest: "Complete the layered look with these two coordinating necklaces — save 10% when you buy all three." This simple upsell increases average order value by 25-40%.
Use bundle pricing. Individual necklace: $22. Set of 3: $55 (17% off). The customer feels like they're getting a deal, and you make $55 instead of $22. Everybody wins.
- Before: Customer buys 1 necklace = $22 order, 1 item
- After (curated set): Customer buys 3-necklace set = $55 order, 3 items
- After (upsell): Customer buys necklace + 2 coordinating = $50 order, 3 items
- Impact: 2.5x higher AOV, 3x more items per order, higher customer satisfaction
- Key: Make it easy. Pre-curate, photograph on model, bundle price. Don't make customers do the work.
Common Layering Mistakes to Avoid
These are the mistakes that make layered jewelry look messy instead of stylish. Teach your customers to avoid them.
Too many statement pieces. Three big pendants competing for attention looks cluttered. One statement + two simple = elegant. Three statements = messy.
Necklaces that tangle. Necklaces of the same length tangle. Different lengths (16", 20", 24") don't. Always vary lengths by at least 2 inches.
Cluttered wrists. Stacking 5 wide bracelets looks bulky and uncomfortable. 3-5 mixed widths (thin + medium + thick) looks intentional and comfortable.
Ignoring metal mixing rules. Randomly mixing gold, silver, rose gold, and black looks chaotic. Pick a dominant metal (2-3 pieces) and one accent metal. Or keep all matching — that's always safe.
Overdoing it on every finger. Rings on every finger looks like a costume. Leave 1-2 fingers bare. The empty space makes the rings you do wear stand out more.
Frequently Asked Questions
Related Reading
- Layered and Stacked Jewelry Styling FAQ: Necklaces, Rings, and Mixed Metals — Necklace Layering, Ring Stacking, Mixing Metals, and Curated Looks
- Stainless Steel Bracelets and Rings FAQ: Sizing, Styles, Stacking, and Care — Sizing, Styles, Stacking, and Care
- Stainless Steel Bracelet Wholesale: Styles, Sizing & What Customers Really Want — Styles, Sizing & What Customers Really Want
- Stainless Steel Necklaces FAQ: Chains, Pendants, Layering, and Sizing — Chains, Pendants, Layering, and Sizing
Curated Sets · Mix & Match · Low MOQ $150
Request Sample PacksFactory-Direct Since 1998 · 31,000+ Styles · Fast Shipping
- Company Info
- Feedback
- Customer Reviews
- About Us
- Dropshipping
- FAQ
- Jewelry Wholesale Blog
- User Center
- Forget Password
- My Orders
- Tracking Order
- My Account
- Register
- Payment & Shipping
- Terms And Conditions
- Return Policy
- Shipping Methods
- Payment Methods
- Discount